
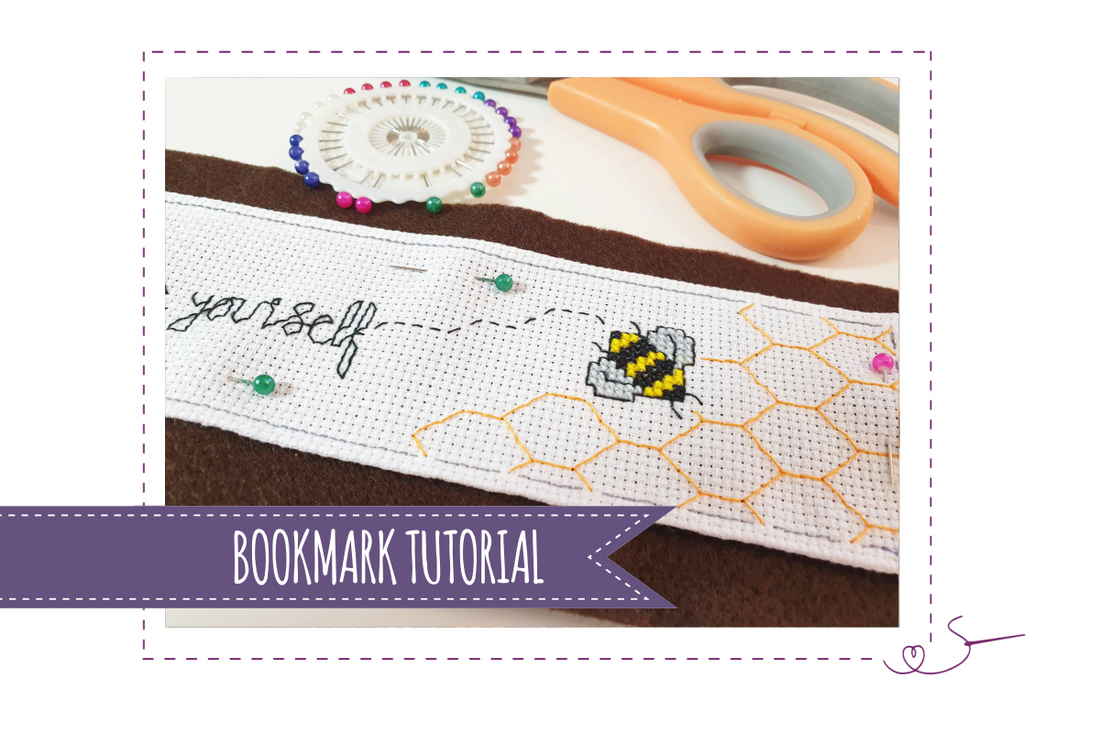
I will assume for the purpose of explaining this process that you are stitching my Bee-yourself Bookmark. You will notice on this, and all my bookmarks, that there are two stitched lines surrounding the design – this is important; If you are doing another designers bookmark then for this tutorial to work you will need to be happy with two lines being added around the design if it does not have them.
What you will need:
- The pattern - a Peppermint Purple one obviously 😉
- Threads
- Aida/linen/Evenweave etc. Make sure this has at least an additional 12 stitches worth of material on width and height than the design.
- Scissors
- Needle
- Backing material – I have used felt but you could use any material (if you decide to use a material that needs to be hemmed, then there will be one extra step). One that matches the thread colour of the outer line on the design would be a great option.
- Optional (but very helpful) sewing pins

Instructions
1. Stitch your chosen design but NOT the two outer lines on the pattern using your material, chart & threads. If your design does not have two outer lines then you will need to add them for this method to work. All of my designs will have these lines.
2. Once you have finished sewing the design, work out where the two outer stitched lines would go then count out 4 stitches in every way (5 from the inner line). I have then marked my aida at this 4 stitch point using a pen that comes off when heat is applied. You may feel that 5 stitches is easier, and this is not a problem as long as you do the same all the way around.

3. Triple check you have counted correctly, then cut along the line you have drawn. You should then end up with a piece (with your stitched design on ) 8 stitches wider and taller than the design. Ie. The Bee-Strong is 100 x 30 stitches, so my piece of aida is now 108 x 38

You should now have something that looks like this:

4. At this point, if you have some, grab the sewing pins.
For each edge, fold over the material on the stitch line one above the outer stitch line and pin (or iron if you don’t have pins).
At the corners overlap them (you could cut the corner diagonally to not overlap, but through trial and error I have found that the material comes apart after a while, however this would give a neater corner so it is your choice)

Continue folding and pinning until all 4 sides are done:

5. Now go back to your pattern, and stitch the inner line – on this design this is the grey line. Be sure to put your needle through both bits of material (the top and the folded under bit), and sew all around – I find it easier to do double running stitch (Holbein) all around and then come back.
Stitch all the way around

Once done your front should look something like this:

The back should look something a little like this (or maybe a bit neater..ahem!!)

6. Grab your felt and cut a piece a little larger than the dimensions of the bookmark. If you are using a material that would have a cut edge then you will need to create a piece identical in size to the bookmark using the same fold over and stitch as you have already one for the front.
7. Pin your bookmark to the felt making sure it lies fully flat.

8. Stitch the top line of the pattern making sure you go through the felt. You could do this with a sewing machine if preferred.
Start your stitch in the middle of the two pieces of material and tuck the knot inside – do this every time you need to start a new piece of thread to ensure you do not have knots on the back of the bookmark.
Start like this...

Start stitching the outer line as shown on the pattern

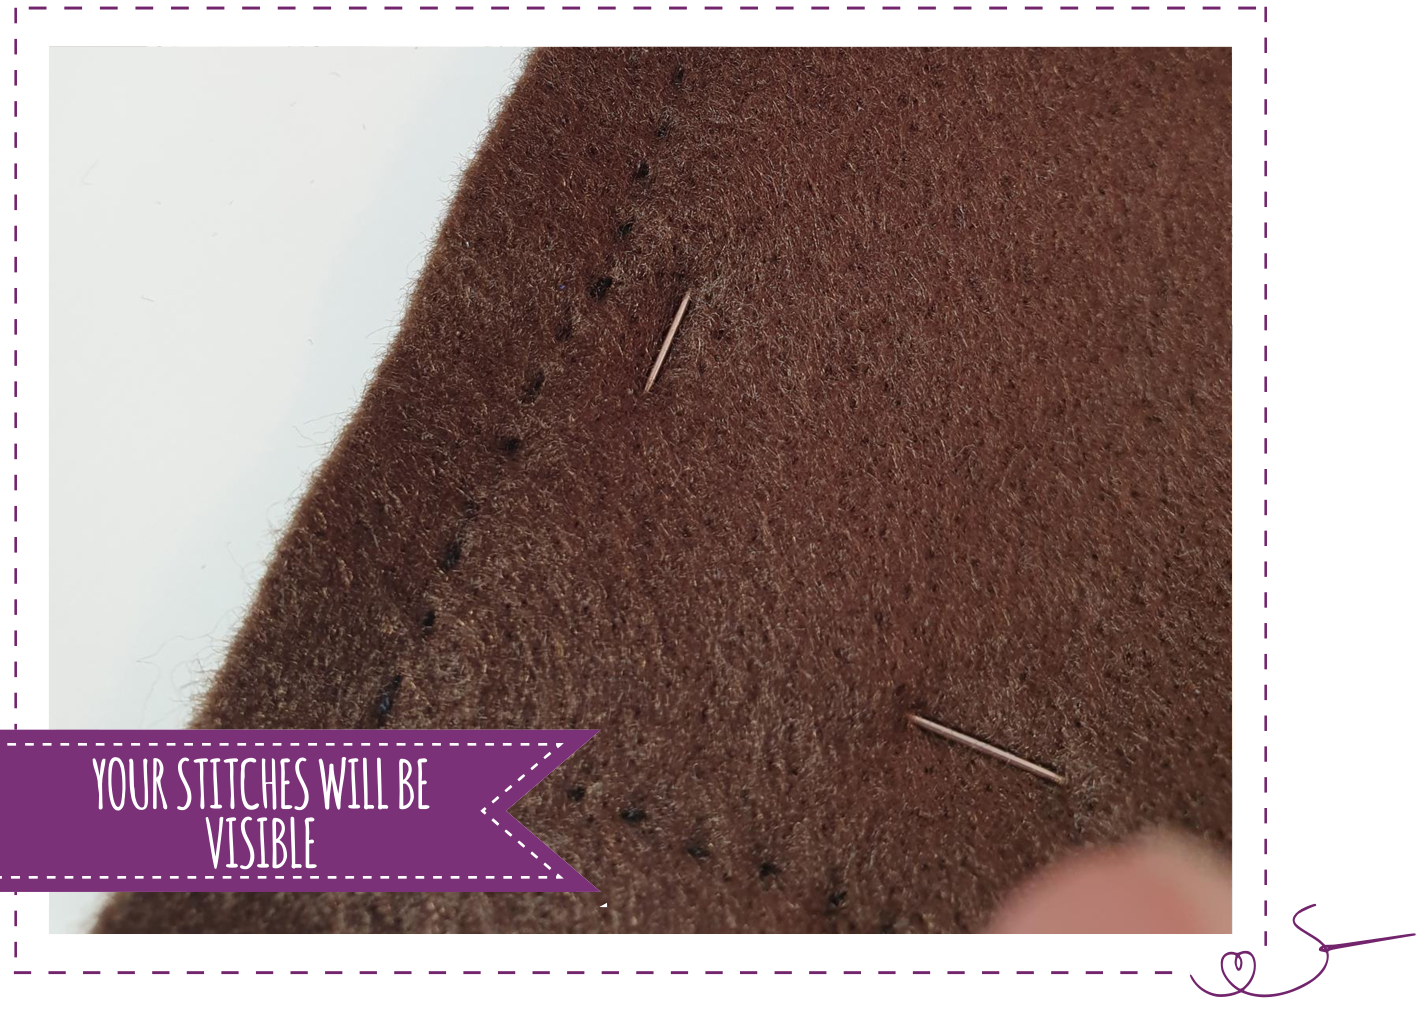
NOTE: Your stitches will be visible on the back so try and make them as neat as possible (this is why a backing material in a colour close to this outer line thread would be a great option)
To tie off pull your needle through one piece of fabric so that it is between the felt and the aida, tie a knot, then tuck that knot between the two bits of material.
9. Using sharp scissors cut the felt as close to the edge as you would like (you could leave a border if you prefer), to tidy it up.

Cut off all 4 edges

10. Sit back, and pat yourself on the back for a job well done 😊

I hope this has helped and you are now looking forward to stitching up some lovely bookmarks, either for yourself, or gifts for loved ones.
If you would like to purchase the bookmark used in this example , just click on the image below.
