
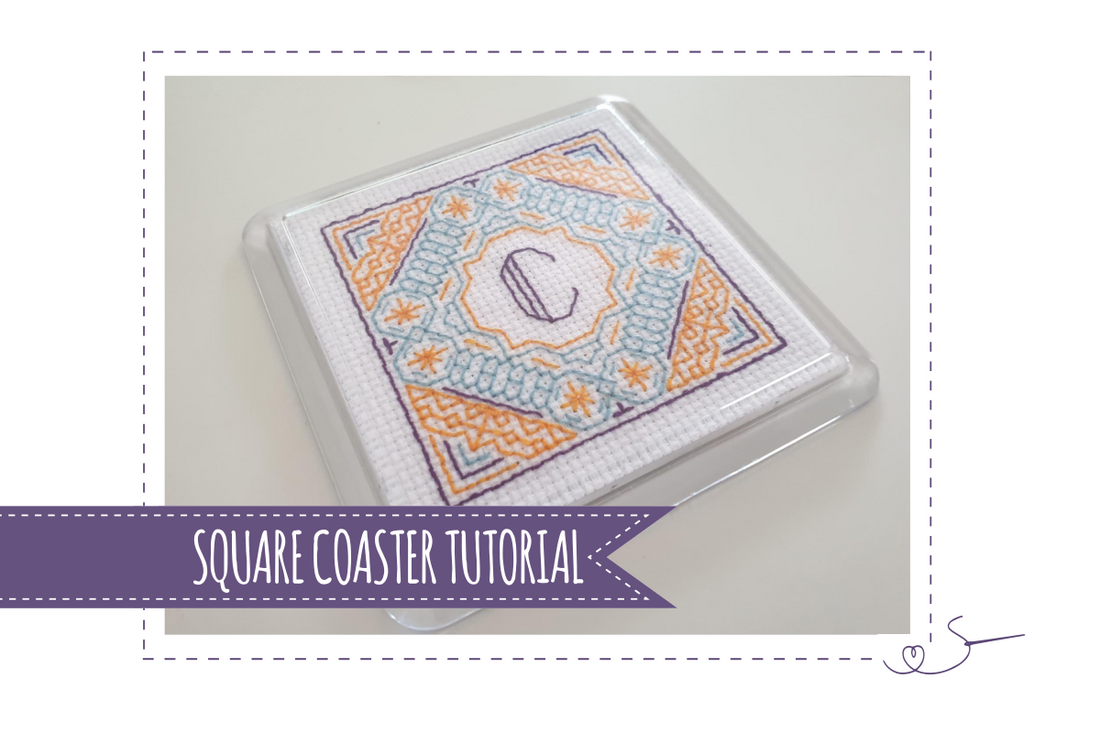
All of my square coaster patterns are the same size and created to fit 95mm (80mm stitch area) Coasters using 14ct material.
The following instructions assume that your pattern is the same size and you are using the same coasters, so if not you may need to amend the stitches counted in part 4 below.
What you will need:
- Coaster Blanks
- The pattern - a Peppermint Purple one obviously 😉
- Needle & Threads
- Aida/linen/Evenweave etc. Make sure this has at least an additional 4 stitches (or 8 if stitching over 2) worth of material on width and height than the design, but I recommend stitching on larger than this so that your material doesn’t fray around the edge.
- Scissors (maybe two sets as you will need to cut both paper and material)
- A sheet of paper at least 10cm square (ordinary printer paper is fine) I have used plain white, but any can be used. This will be used to cover the back of your stitching and visible so even a pretty patterned paper would be lovely.
- Pencil


Instructions
1. Stitch the design – try not to stretch the material in any way as you need it to remain as ‘square’ as possible. I stitched mine in the hand rather than in a hoop for this reason.
2. Iron your design so that it is un-creased.
3. Take your paper and the base of the coaster. Draw around the base and cut out the paper – make sure this fits in the top part of the coaster. TIP: clean around the edge of the coaster you used to draw around – mine had lots of charcoal from the pencil on it which would have marked my stitching.


4. Now take your stitching and count 4 stitches around the design and mark this on the stitching (I marked this on the front but actually on the back would be better so that no pencil marks remain on your coaster).

5. Triple check you have counted correctly, then cut along the lines you have drawn (as straight as possible). You should then end up with a square piece that fits the coaster perfectly.

You should now have something that looks like this:

6. Place your stitching face down into the coaster top.

Place the cut paper on top of that (if your paper still has some pencil showing make sure you have that side against the material).

7. Gently place (but don’t push in) the coaster back which will allow you to hold the coaster up and quickly check the front to make sure it is as expected. Once happy push the back fully in to encapsulate the stitching and coaster

10. Sit back, and pat yourself on the back for a job well done 😊

I hope this has helped and you are now looking forward to stitching up some lovely coasters, either for yourself, or gifts for loved ones.
SUPPLIES LINKS: